Spring Boot: 시큐리티(Security) - 1
스프링에서 로그인, 권한별 접근 기능 등을 구현하고 싶다면 스프링 시큐리티(Spring Security)를 사용해야 합니다.
절차
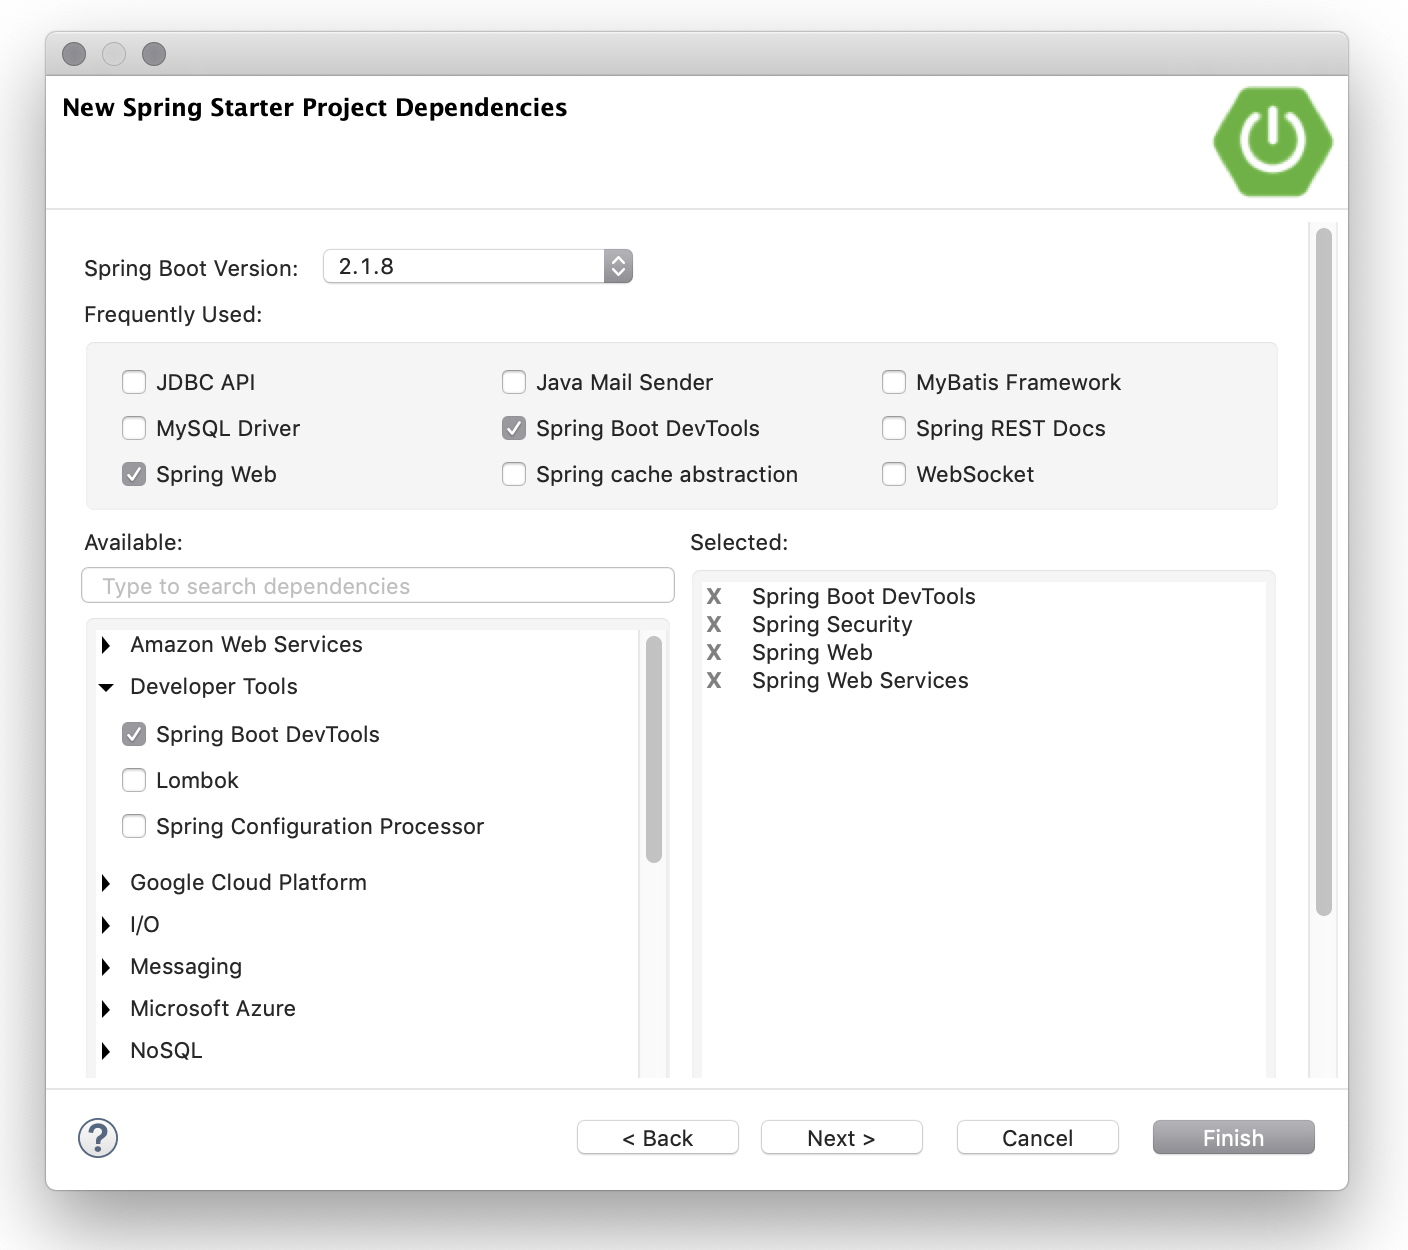
1. 프로젝트 생성: 디펜더시에서 Security 선택
처음 스타트 프로젝트 생성 시 디펜던시에서 Security를 선택합니다.
나중에 수동으로 추가할 경우에는 아래를 pom.xml의 <dependencies> 내에 추가합니다.
1
2
3
4
5
6
7
8
9
10
<dependency>
  <groupId>org.springframework.boot</groupId>
  <artifactId>spring-boot-starter-security</artifactId>
</dependency>

<dependency>
  <groupId>org.springframework.security</groupId>
  <artifactId>spring-security-test</artifactId>
  <scope>test</scope>
</dependency>
2. 기본 로그인 화면 제거
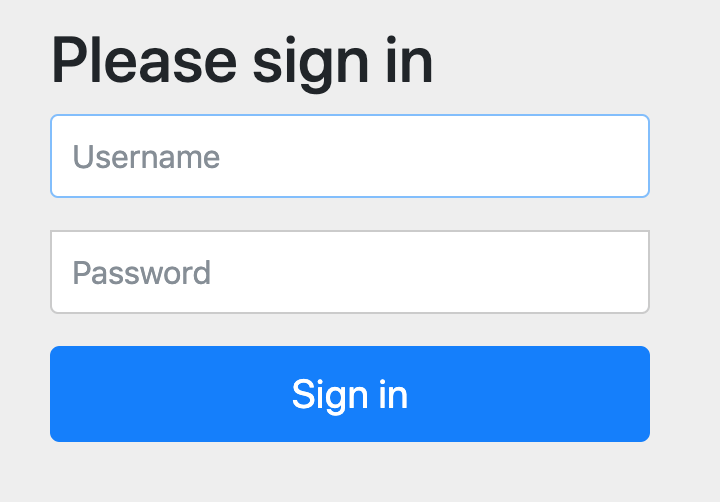
프로젝트를 생성하고 서버를 가동하면 어떤 URL에 접속해도 기본 로그인 화면만 나오게 됩니다. 기본 로그인 화면이 뜨지 않게 하기 위해 초기 세팅을 합니다.
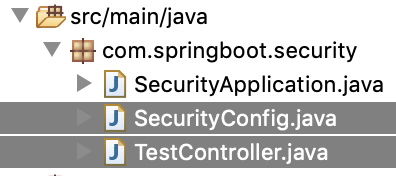
메인 스프링 애플리케이션인 SecurityApplication은 따로 변경하지 않고, SecurityConfig 클래스를 생성합니다.
SecurityConfig.java
1
2
3
4
5
6
7
8
9
10
11
12
13
14
15
package com.example.security;

import org.springframework.security.config.annotation.web.builders.HttpSecurity;
import org.springframework.security.config.annotation.web.configuration.EnableWebSecurity;
import org.springframework.security.config.annotation.web.configuration.WebSecurityConfigurerAdapter;

@EnableWebSecurity
public class SecurityConfig extends WebSecurityConfigurerAdapter {

  @Override
  protected void configure(HttpSecurity http) throws Exception {
    http.authorizeRequests().antMatchers("/**").permitAll();
  }

}
TestController.java
1
2
3
4
5
6
7
8
9
10
11
12
13
14
15
16
17
18
19
20
21
22
23
24
25
26
27
package com.example.security;

import org.springframework.stereotype.Controller;
import org.springframework.web.bind.annotation.RequestMapping;
import org.springframework.web.bind.annotation.ResponseBody;
import org.springframework.web.servlet.ModelAndView;

@Controller
public class TestController {

  @RequestMapping("/")
  public String home(ModelAndView mav) {
    return "home";
  }

  @ResponseBody
  @RequestMapping("/test")
  public String test() {
    return "OK";
  }

  @ResponseBody
  @RequestMapping("/adminOnly")
  public String adminOnly() {
    return "Secret Page";
  }
}
3. 메모리 기반 운영자 계정 추가
현재 연결된 데이터베이스가 없으므로 메모리상에 운영자 계정을 하나 만들고 로그인 페이지도 작성하여 운영자만 adminOnly 페이지에 접근 가능하도록 합니다.
SecurityConfig.java
1
2
3
4
5
6
7
8
9
10
11
12
13
14
15
16
17
18
19
20
21
22
23
24
25
26
27
28
29
30
31
32
33
34
35
36
37
package com.example.security;

import org.springframework.context.annotation.Bean;
import org.springframework.security.config.annotation.authentication.builders.AuthenticationManagerBuilder;
import org.springframework.security.config.annotation.web.builders.HttpSecurity;
import org.springframework.security.config.annotation.web.configuration.EnableWebSecurity;
import org.springframework.security.config.annotation.web.configuration.WebSecurityConfigurerAdapter;
import org.springframework.security.crypto.bcrypt.BCryptPasswordEncoder;

@EnableWebSecurity
public class SecurityConfig extends WebSecurityConfigurerAdapter {

  @Override
  protected void configure(HttpSecurity http) throws Exception {
    http.authorizeRequests()
      .antMatchers("/adminOnly").hasAuthority("ROLE_ADMIN")
      .antMatchers("/**").permitAll()
      .anyRequest().authenticated()
      .and()
      .formLogin().defaultSuccessUrl("/")
      .and()
      .logout().logoutSuccessUrl("/");
  }

  @Override
  protected void configure(AuthenticationManagerBuilder auth) throws Exception {
    auth.inMemoryAuthentication()
      .withUser("admin").password(passwordEncoder().encode("1234")).roles("ADMIN")
      .and()
      .withUser("guest").password(passwordEncoder().encode("guest")).roles("GUEST");
  }

  @Bean
  public BCryptPasswordEncoder passwordEncoder() {
    return new BCryptPasswordEncoder();
  }
}
HttpSecurity를 인자로 받는configure메서드는 보안 정책을 설정합니다.authorizeRequests()는 요청별 접근 권한을 지정합니다.antMatchers("/adminOnly").hasAuthority("ROLE_ADMIN")은"ROLE_ADMIN"권한을 가진 사용자만 접근 가능하게 합니다.permitAll()은 모든 사용자(비로그인 포함) 접근 허용을 의미합니다..anyRequest().authenticated()는 인증이 필요한 요청을 지정합니다..formLogin().defaultSuccessUrl("/")는 로그인 성공 후 이동할 페이지를 지정합니다..logout().logoutSuccessUrl("/")는 로그아웃 성공 후 이동할 페이지를 지정합니다.
4. 뷰 설정
pom.xml에 아래 내용을 추가합니다.
뷰 렌더링 엔진으로는 Thymeleaf를 사용합니다.
1
2
3
4
5
6
7
8
9
<dependency>
  <groupId>org.springframework.boot</groupId>
  <artifactId>spring-boot-starter-thymeleaf</artifactId>
</dependency>

<dependency>
  <groupId>org.thymeleaf.extras</groupId>
  <artifactId>thymeleaf-extras-springsecurity5</artifactId>
</dependency>
home.html
1
2
3
4
5
6
7
8
9
10
11
12
13
14
15
16
17
18
<!DOCTYPE html>
<html xmlns="http://www.w3.org/1999/xhtml"
    xmlns:th="http://www.thymeleaf.org"
    xmlns:sec="http://www.thymeleaf.org/thymeleaf-extras-springsecurity4">
<head>
<meta charset="UTF-8">
<title>Select Menu</title>
</head>
<body>
  <a href="test">Test Page</a>
  <a sec:authorize="hasRole('ADMIN')" href="adminOnly">adminOnly Page</a>
  <a sec:authorize="!isAuthenticated()" href="login">Login</a>
  <a sec:authorize="isAuthenticated()" href="logout">Logout</a>
  <p sec:authorize="hasRole('ADMIN')">[이 부분은 운영자(ADMIN)에게만 나타남]</p>
  <p sec:authorize="hasRole('GUEST')">[이 부분은 손님(GUEST)에게만 나타남]</p>
  <p sec:authorize="isAuthenticated()">[이 부분은 로그인한 사용자(isAuthenticated) 모두에게 나타남]</p>
</body>
</html>
isAuthenticated()는 로그인 상태일 때 true를 반환하며,
hasRole('')은 특정 역할을 가진 사용자인 경우 true를 반환합니다.
sec:authorize는 th:if와 비슷하게 조건부 렌더링을 수행하지만 시큐리티 전용 속성입니다.
/login, /logout은 스프링 시큐리티에서 기본 제공하는 로그인, 로그아웃 URL입니다.
실행 화면
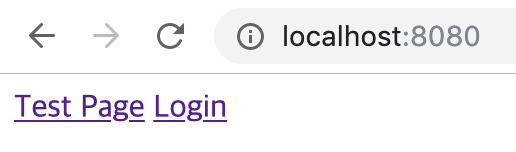
첫 페이지
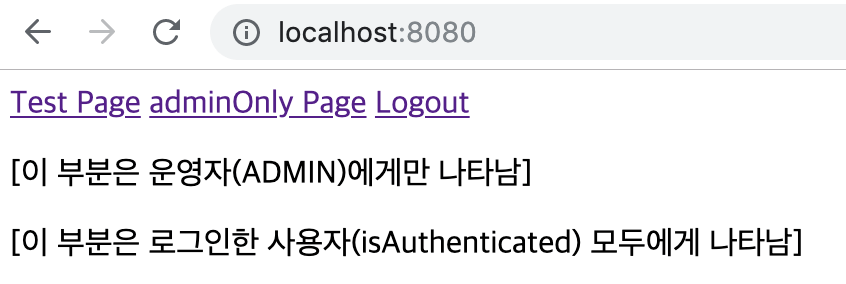
운영자(admin)으로 로그인한 경우
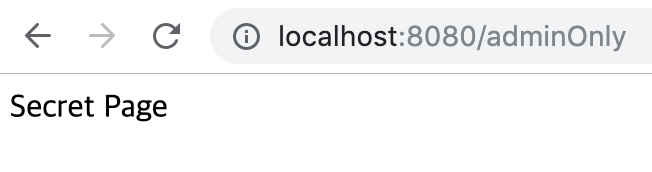
운영자가 전용 페이지에 접근했을 때
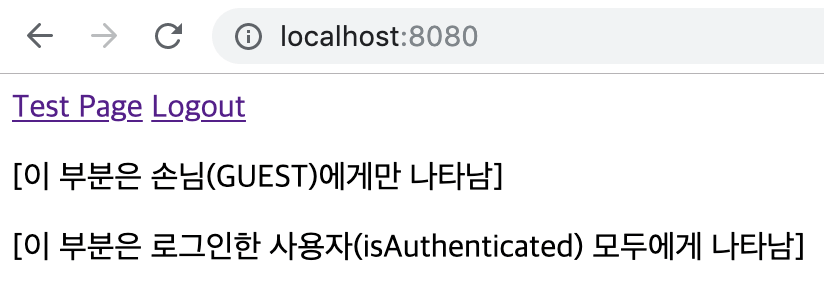
손님(guest)으로 로그인한 경우
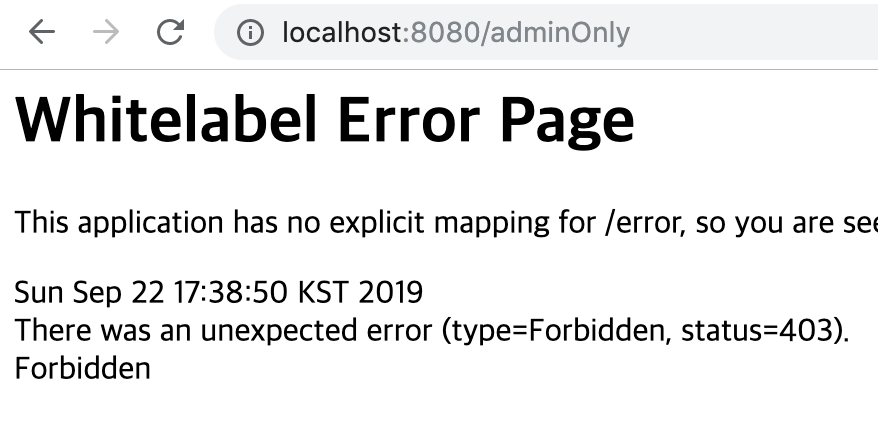
손님이 운영자 전용 페이지에 접속하려고 할 때