Spring Boot: 시큐리티(Security) – 5 – 권한별 접근 가능한 페이지를 데이터베이스에 설정하기 (동적 설정)
Spring Boot: 시큐리티(Security) – 5 – 권한별 접근 가능한 페이지를 데이터베이스에 설정하기 (동적 설정)
- 깃허브에서 전체 코드 보기 - https://github.com/ayaysir/spring-boot-security-example-1
스프링 부트 시큐리티에서 자주 변경되는 정보를 분리하는 방법에 대해 알아보겠습니다. (참고 블로그)
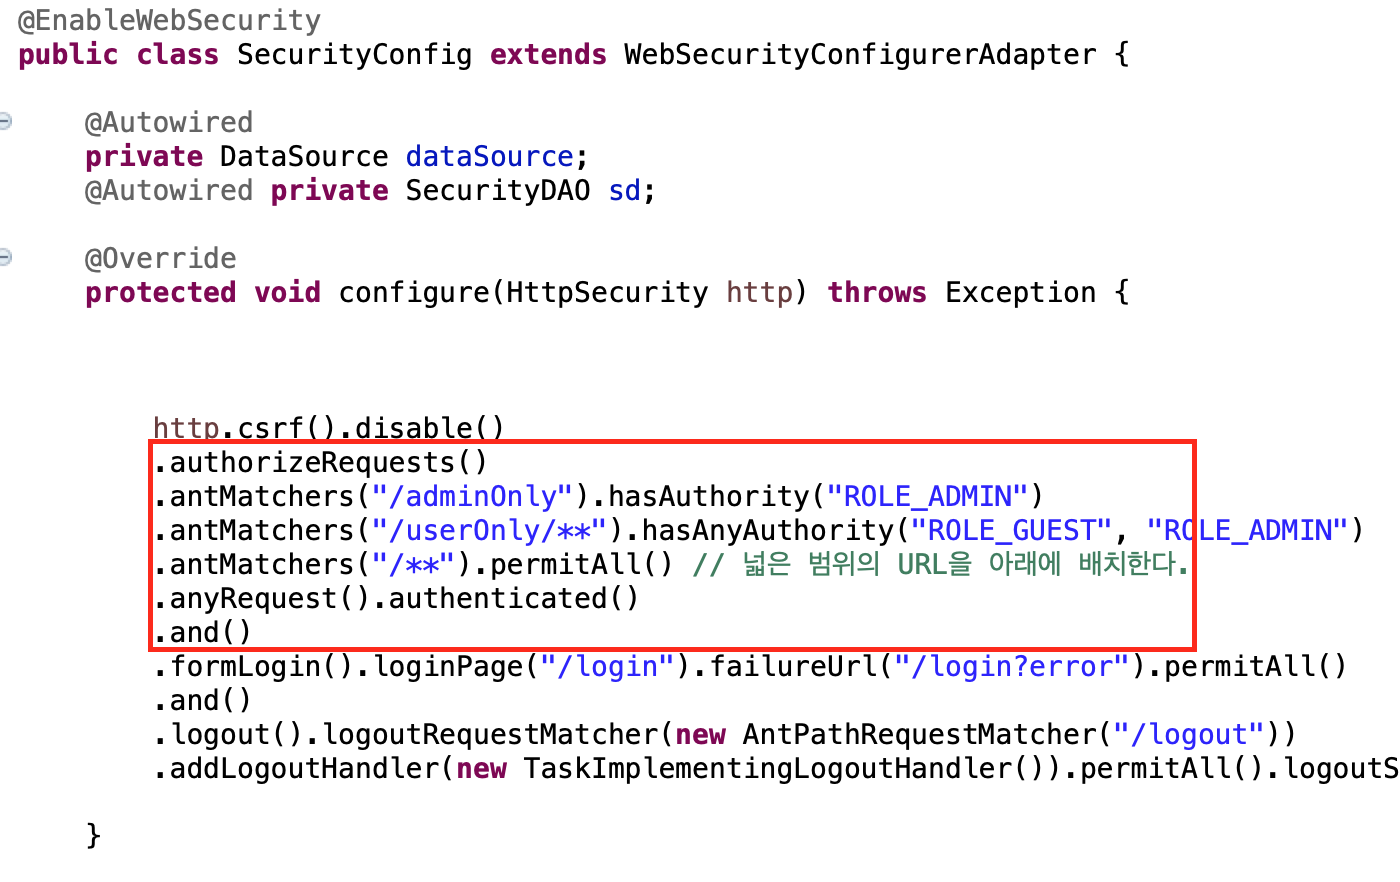
Security Config 클래스의 코드에서 위의 빨간색 네모 코드를 데이터베이스에서 가져오는 것으로 바꾸는 작업을 하겠습니다. 이유는 위 네모박스는 자주 변경될 수 있는 부분인데 하드코딩 방식으로 정보가 입력되어 있기 때문입니다.
기존 컨트롤러 코드
참고로 컨트롤러(일부)는 다음과 같습니다.
1
2
3
4
5
6
7
8
9
10
11
12
13
14
15
16
17
18
19
20
21
22
23
24
25
26
27
@ResponseBody
@RequestMapping("/adminOnly")
public String adminOnly(Authentication auth) {
return "Secret Page!!"
+ "<br>my roles: "+ auth.getAuthorities().toString();
}
@ResponseBody
@RequestMapping("/userOnly")
public String userOnly(Authentication auth) {
return "USER ONLY"
+ "<br>my roles: "+ auth.getAuthorities().toString();
}
@ResponseBody
@RequestMapping("/userOnly/{sub}")
public String userOnlySub(Authentication auth, @PathVariable("sub") String sub) {
return "USER ONLY SUB PAGE (" + sub + ")"
+ "<br>my roles: "+ auth.getAuthorities().toString();
}
@ResponseBody
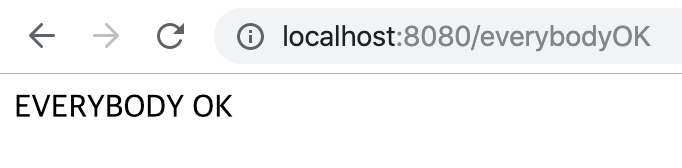
@RequestMapping("/everybodyOK")
public String everybodyOK() {
return "EVERYBODY OK";
}
방법
1. 데이터베이스에서 테이블 생성 및 URL, 권한정보를 입력합니다.
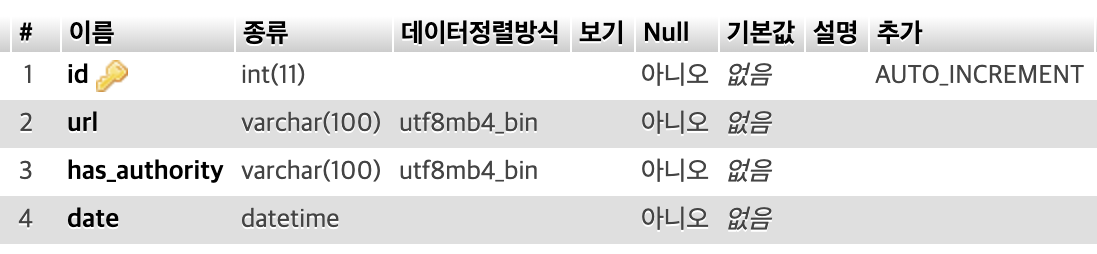
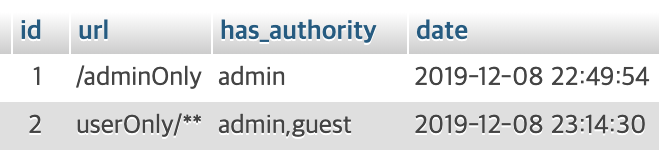
프로젝트에 연결되어 있는 DB를 이용해 정보를 입력하면 됩니다. 여기서는 mariadb를 사용하였습니다.
2. 위의 데이터베이스를 가져오는 DAO 등을 작성합니다.
1
2
3
4
5
6
7
8
9
10
11
12
13
14
15
16
17
18
19
20
21
22
23
24
25
26
27
package com.springboot.security.dao;

import java.util.HashMap;
import java.util.List;
import java.util.Map;

import org.springframework.beans.factory.annotation.Autowired;
import org.springframework.jdbc.core.JdbcTemplate;
import org.springframework.stereotype.Repository;

@Repository
public class SecurityDAO {
  @Autowired JdbcTemplate jt;

  public List<Map<String, Object>> getAuthReq() {
    return jt.query("select * from security_authreq", (rs, rowNum) -> {
      Map<String, Object> aRow = new HashMap<>();
      aRow.put("id", rs.getInt(1));
      aRow.put("url", rs.getString(2));
      aRow.put("hasAuthority", rs.getString(3));
      aRow.put("date", rs.getString(4));
      return aRow;
    });
  }

}
3. Security Config 클래스 파일에서 하드코딩에 해당하는 부분을 별도 메소드로 교체하고, DB에서 읽어오도록 변경합니다.
1
2
3
4
5
6
7
8
9
10
11
12
13
14
15
16
17
18
19
20
21
22
23
24
25
26
27
28
29
30
31
32
33
34
35
36
37
38
39
40
41
42
43
44
45
46
47
48
49
50
51
52
53
54
55
56
57
(.......)

@EnableWebSecurity
public class SecurityConfig extends WebSecurityConfigurerAdapter {

  @Autowired
  private DataSource dataSource;

  @Autowired private SecurityDAO sd;

  @Override
  protected void configure(HttpSecurity http) throws Exception {

    setAntMatchers(http, "ROLE_");

    http.csrf().disable()
    // setAntMatchers 메소드로 대체되었음
    .formLogin().loginPage("/login").failureUrl("/login?error").permitAll()
    .and()
    .logout().logoutRequestMatcher(new AntPathRequestMatcher("/logout"))
    .addLogoutHandler(new TaskImplementingLogoutHandler()).permitAll().logoutSuccessUrl("/");

  }

  (.......)

  protected void setAntMatchers(HttpSecurity http, String rolePrefix) throws Exception {
    List<Map<String, Object>> list = sd.getAuthReq();
    System.out.println(list);
    for(Map<String, Object> m : list) {
      // 쉼표(,)로 구분된 권한 정보를 분리 후 배열로 저장
      String[] roles = m.get("hasAuthority").toString().split(",");

      // 권한 앞에 접두사(rolePrefix) 붙임
      for(int i = 0; i < roles.length; i++) {
        roles[i] = rolePrefix + roles[i].toUpperCase();
      }

      // DB에서 url을 읽어올 때 앞에 '/'이 없다면
      // 앞에 '/'를 넣어준다.
      String url = m.get("url").toString();
      if(url.charAt(0) != '/') {
        url = "/" + url;
      }

      // url, 권한 정보를 넣는다.
      http.authorizeRequests()
      .antMatchers(url)
      .hasAnyAuthority(roles);

    }

    http.authorizeRequests()
    .antMatchers("/**").permitAll()
    .anyRequest().authenticated();
  }
}
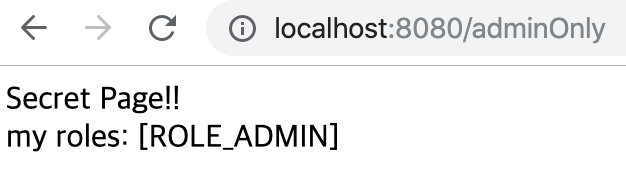
4. 테스트해서 이전 방식과 동일한 결과가 나오는지 확인합니다.
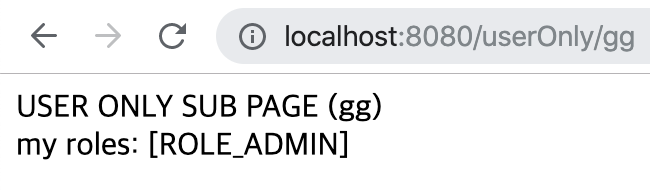
운영자(ROLE_ADMIN)로 접속한 경우
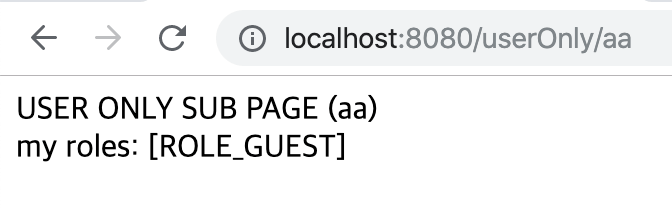
손님(ROLE_GUEST)로 접속한 경우

로그인하지 않고 접속하는 경우
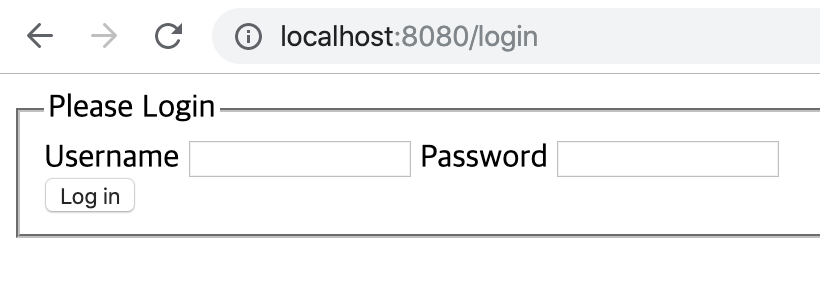 모든 페이지 접속 시도 시 로그인 화면으로 리다이렉트됨
This post is licensed under
CC BY 4.0
by the author.